
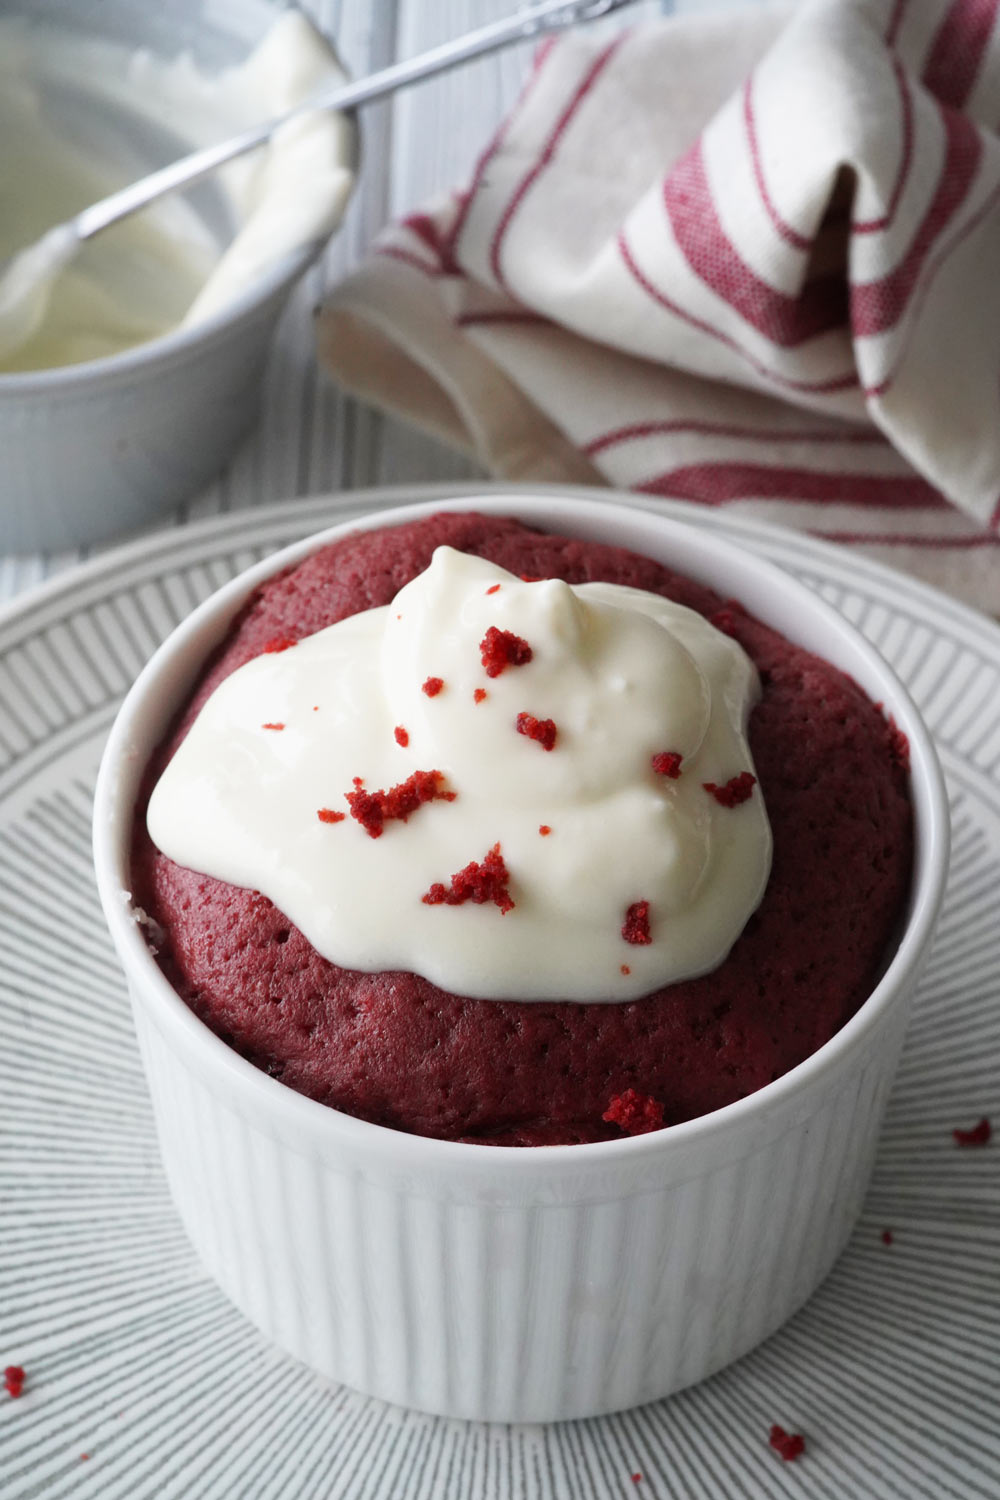
Make this delicious red velvet mug cake as a Valentine’s Day treat for the two of you. The mug cake is the perfect indulgent chocolatey dessert.
» You might also like these Homemade Brownies or Pink Rice Krispies Treats.
If you like red velvet cake, but don’t want to make an entire cake just for one slice, then this mug cake is perfect for you. It makes one to two servings (depending on how sweet your tooth it!).
For this mug cake, we make a quick cream cheese frosting that you can pour over the top of the cake. It’s also just one serving, so you won’t have most of a carton of store-bought frosting left over when you’re done.
» You should try these 10 Chambord Cocktails You’ll Love.
Ingredients Needed for Red Velvet Mug Cake
The basis of a red velvet cake mix is buttermilk. It’s what gives it the signature taste that is associated with red velvet cake. It also has some cocoa powder in it, and of course the bright red coloring.
Here’s what you’re going to need:
- All-purpose flour
- Granulated sugar
- Cocoa powder – Use a high-quality Dutch processed cocoa powder for the best taste.
- Baking powder
- Red food coloring – Gel works best because it has the highest concentration of color in a small amount. Plan to use about 1/4 teaspoon of gel or 1/2 teaspoon of liquid food coloring.
- Buttermilk – It’s best to use actual buttermilk. There are substitutions like milk mixed with vinegar, but I don’t recommend it. If you don’t have buttermilk, just add regular milk.
- Oil – Canola, coconut, or vegetable oil works best. Olive oil will add a slight olive flavor.
- Cream cheese – Take a scoop and put it into a small bowl to soften while you make the cake.
- Powdered sugar
- Cream or half and half – if you don’t have any, you can use melted butter instead.
Equipment Needed
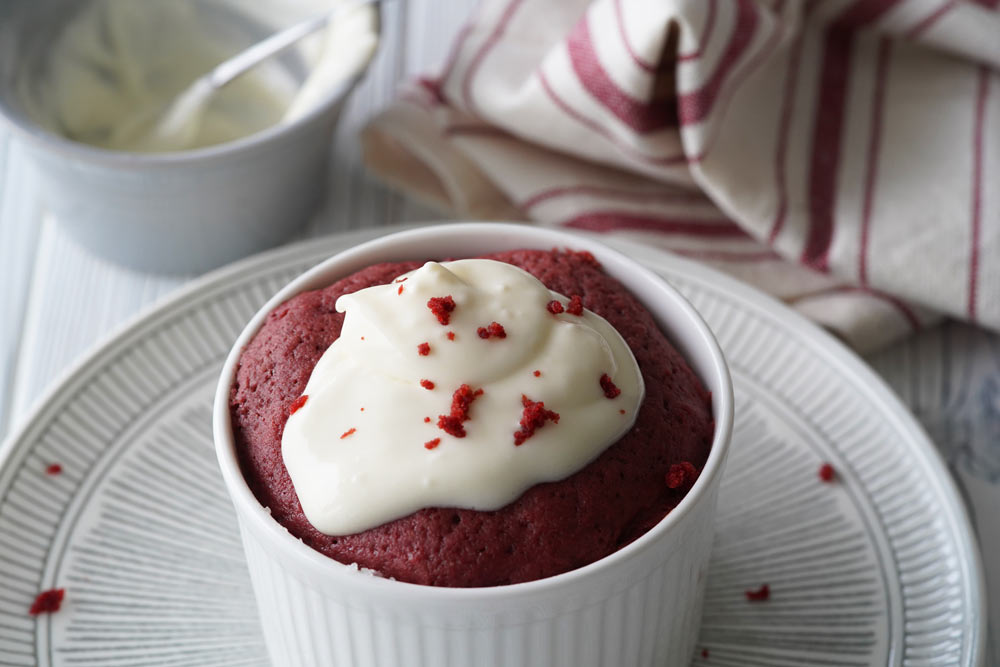
I make mug cakes all the time, so I have a bunch of 10 oz ramekins to make them in. This size ramekin is perfect size for the cake. It won’t overflow in the microwave, but it comes right up to the top.
You can also use any mug, as long as it holds at least 10 oz. I sometimes use my regular tea mug, but it’s a 16 oz mug and so the cake only fills halfway up. If you want it to look pretty, use a ramekin.

How to Make a Red Velvet Mug Cake
Mix together the dry ingredients first. Just add them directly to the mug you’re going to cook in and stir it all together.
Next add the food coloring, buttermilk and oil and stir everything together until it’s smooth, with no lumps. You might want to adjust the coloring at this step. If it’s not red enough for you, add a few more drops of food coloring.
Place the mug or ramekin in the microwave and cook on high for 90 seconds. The cake will puff up as it cooks and it might look like it’s going to go over the edge, but it won’t if the cup you used was big enough.

After the 90 seconds, open the microwave and take a look at the cake. The top should be dry and the center spongy to the touch. If that’s what you see, remove it from the microwave and let it cool.
If it’s still a bit wet in the center, put it back in for another 10 seconds and repeat as many times as necessary to get a dry center. It shouldn’t take too much longer.
Mix together the cream cheese, powdered sugar and cream in a bowl. If you want the frosting to be a bit more firm, add extra powdered sugar. If you want it to be more runny, add more cream.
Once cooled, you can either take the cake out of the mug and serve it on a plate, or just eat it from the mug. Spoon the frosting over the cooled cake and enjoy!
How to Tell When It’s Done
After the 90 second cook time, take a look at the top. If it looks dry and the edges are pulling away from the edges of the mug, then it’s done. If the top looks wet at all, put it back in for 10 seconds, until the top is dry and spongy to the touch.
Typically mug cakes take about 90 seconds to cook. I’ve made dozens of mug cakes and the norm is just 90 seconds. However, a few different things can affect the cooking of the cake and it might take a little less or more time to fully cook.
Sometimes the ingredients you put in are a bit colder and require more cooking. Sometimes your microwave power differs from mine. Just keep in mind that it won’t necessarily be 90 seconds cook time.

Can I Make My Own Buttermilk?
You can make your own buttermilk substitute if you’re in a bind. It’s just milk mixed with vinegar or lemon juice, so that the milk curdles and has a slight acidic taste to it.
However, it can negatively affect the taste of the cake, so I really encourage you to use buttermilk, or just use regular milk if you don’t have it.
Tips For Making the Perfect Mug Cake
- Don’t over cook it. This can be difficult to gauge the first time, because all microwaves are different and yours might cook faster than mine does. I find that 1:15 is perfect for my microwave. It’s always better to undercook then overcook. If you overcook it there’s no going back. The cake will be dry and might even get scorched.
- Don’t over stir the ingredients. You just need to stir to incorporate. There’s no whisking or beating necessary. Just stir until the ingredients are combined.
- It’s always best to use a mug that’s too big than one that’s too small. A 10-ounce mug is the smallest you can use for this or the ingredients might overflow.
Frequently Asked Questions
What do I need to make a mug cake?
You’ll need the ingredients (obviously), but then the only other things you need are a microwave and a microwave-safe mug. I just use my regular tea/coffee mugs. You could also use a ramekin. You just need a mug or ramekin that’s larger than the cake ingredients, because it does rise a couple of inches in the mug.
What wattage do I cook this on?
I cook my mug cake at full power in a 900-watt microwave. If you have a more powerful microwave, you may need to cook the cake for 70 or 80 seconds instead of 90. Once you’ve cooked one mug cake, you’ll know for next time.
In my opinion, it’s better to under cook then over cook, so if this is your first mug cake cook it for 80 seconds on full power. If it’s still wet in the middle, cook for 10 seconds longer. If it’s a bit tough or dry, you can reduce by 10 seconds next time you make it.
YOU MIGHT ALSO LIKE


Like this post? We’d love for you to save it to your Pinterest board to share with others! FOLLOW US on Pinterest, Instagram, Facebook for more great recipes! If you made it, post a pic on Instagram and hashtag it #savoredsips

Red Velvet Mug Cake
Ingredients
- 1/3 cup all-purpose flour
- 2 tablespoons sugar
- 1 teaspoon cocoa powder
- 1/2 teaspoon baking powder
- 1/4 teaspoon baking soda
- 1/2 teaspoon red food coloring gel
- 1/4 cup buttermilk or substitute
- 1 1/2 tablespoons oil
- 1 tablespoon cream cheese softened
- 1 1/2 tablespoons powdered sugar
- 1 teaspoon cream
Instructions
- Mix together the dry ingredients, then add the food coloring, buttermilk and oil and stir well until smooth.
- Bake in the microwave for 90 seconds, or until the center is spongy to the touch. Remove and let cool.
- Mix together the cream cheese, powdered sugar and cream in a bowl. Spoon over the cooled cake.

Laura is the founder and editor of the travel blogs Savored Sips and Savored Journeys. She is dedicated to sharing the best information about drinks found around the world.
I’m going to make this for my hubs for Valentine’s. What a lovely simple and easy recipe. He will love it I’m sure. Yum!
My family is going to love this! TheJust tried this recipe and my family loved it.
I love this idea, I haven’t made a mug cake in a long time. Looking forward to trying your recipe, thanks for sharing.
I love mug cake, but I haven’t had red velvet one before. I can’t wait to try this.
The family really enjoyed how this worked all together. We will make it often! its so easy!!!
Looks very easy to make and yummy! Would love to make this for mykids! Thanks for sharing!
Super easy and delish! Mine was 90 seconds in the microwave as you said. I used a granulated sugar substitute (erythritol) with no issues. Next time, I’ll test it with all-purpose gluten free flour. Thanks again!
Glad you enjoyed it, Lori. Thanks for the feedback.
It doesn’t really taste like anything, very fluffy, would maybe add some salt and vanilla into the mixture and other things like chocolate chips.